Vrksasana (Tree Pose) is one of those poses that either you love or hate; obviously, the intensity of those feelings depends on how easily you can do the pose. Either you balance and can feel the alignment of your body from the sole of your foot through the top of your head, or you tip over as soon as one foot comes off the ground.
The most important part of the pose is finding your balance (well, duh, you say) but also finding the confidence to let go of your support and trust the alignment of your body and the strength of your legs.
1. Against the Wall-The easiest way to help yourself is to do Tree Pose with your back to the wall. At first, you will just rest your seat and back against the wall, with the heel of the foot a few inches from the wall, so that you can establish line up of the pose even though you are leaning. Try to ground evenly through the sole of the standing foot, but mostly just notice how the whole thing feels-hips even, knee stretched to the side, shoulders balanced over hips. Close your eyes and let your body feel the pose…the slight lean into the wall’s support should keep you standing.
2. Lifting off the Wall- Once the leaning position becomes comfortable and easy, try it with the heel about 5 inches away from the wall. Then press the fingertips to the wall at the hips and gently lift the hips and upper body away so you are balanced over the standing leg, but still feel supported through the fingertips. If you feel aligned, lift the fingertips off the wall for a few moments…or longer if you feel balanced. Let yourself rest against the wall if you start to feel wobbly, then realign and press away again.
3. Facing the Wall- By now, you should start to recognize the feeling of alignment and can turn around. This time, keep the fingertips on the wall about shoulder-height and come into the pose while facing the wall. You can lean into your fingers if the urge to tip comes over you, but keep trying to press your upper body over the lower so your weight is evenly distributed up and down the spine and onto the standing leg.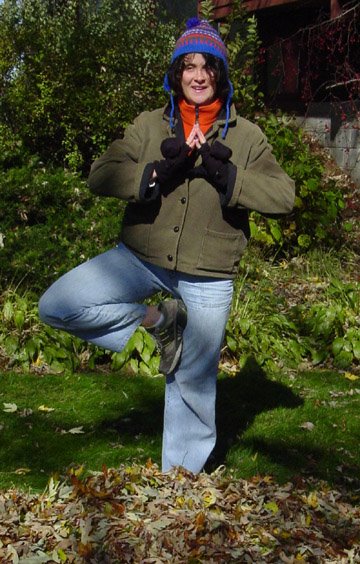 4. Side to the Wall- When you are ready, and only if you feel confident—doubt will knock you over as soon as imbalance will—turn your side to the wall, so you can only place one hand on the wall. Come into the pose with this slight support and then try to lift the hand off the wall. By now, you should be familiar with the feeling of alignment and the solid pressure on the grounded standing foot. Try to recapture that feeling, with just the palm and then fingertips of one hand…and then no hand at all. Keep the pose under control and if you start to lean, rest the hand on the wall again until you feel stable.

No comments:
Post a Comment