Thursday, July 27, 2006

THE SECRETS TO SEQUENCING (PART TWO)

(This week, my digital camera is on a field trip to Madison, taking pictures of rocks for a geologist. In order to stay on schedule, I’m going to post this without pictures and will try to add some visual information this weekend. Sorry-bkp.)

I sort of left you hanging last week, with only the upper part of your body warmed and stretched. However, I didn’t want to have a gigantic blog entry and overload you with information. Now we’re ready to address the lower back and legs, which are the main supporters of all the standing poses (i.e. Trikonasana-triangle pose, Virabhadrasana-warrior poses, etc.).

A good place to start bringing awareness to the large muscles of the legs is Dandasana (Staff pose). The pose is relatively simple, sitting with the spine aligned and the legs extended, but an engaged Staff gets blood flowing into the legs and energizes the torso with the effort it takes to sit tall and ground through the back of the legs. If you combine it with an arm stretch (Hastasana-overhead arm stretch, for example) it becomes a very active way to work most of the muscles at once.

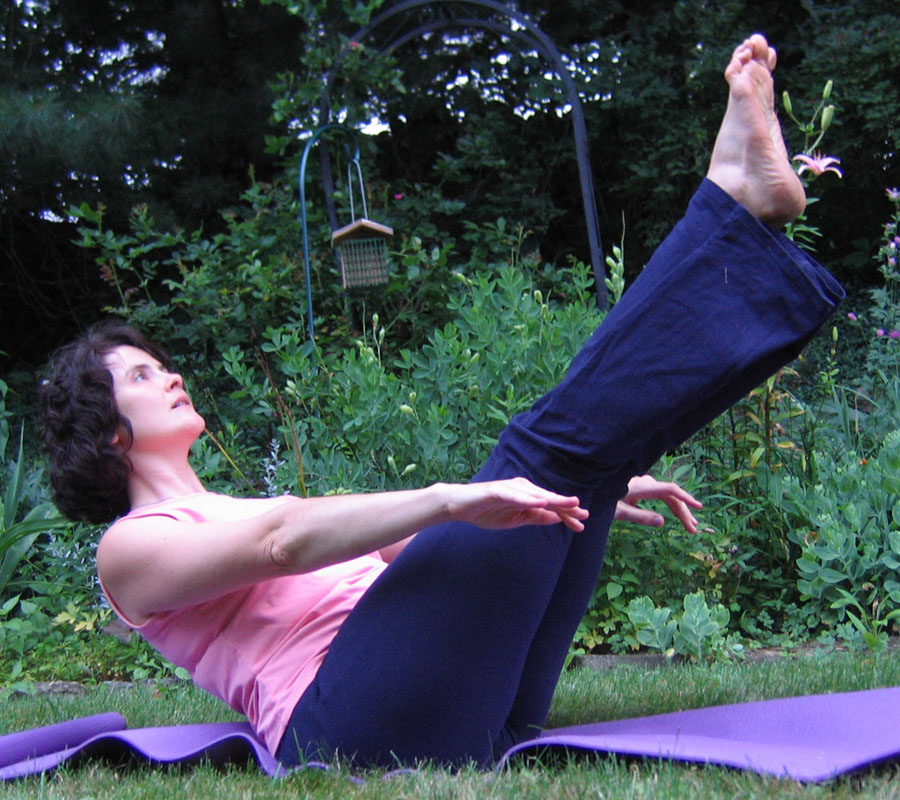
I usually include Padangusthasana (Hand-to-Big Toe Pose) at the beginning of class because it opens the back of the legs (hamstrings in the thighs and the gastrocnemius of the calf). As you lie on the floor, concentrate on maintaining the lumbar curve in the lower back (about enough space for your fingers) and ground down through the back of the hips. This keeps the pelvis level and increases the stretch in the back of the thighs. As you lift one leg, make sure to keep the leg on the floor as engaged as the leg that is stretching; this will increase the stretch and keep you balanced when you open your foot to the side. Give yourself time to open in this pose; this is one you don’t want to rush (as if any of them are), because the more you ease into it, the more length you will get out of your legs.

A combination of the two proceeding poses is Paschimottanasana (Seated Forward Bend). In this position you keep the spine long as in Staff, while stretching the soles of the feet evenly away from you and grounding the backs of the legs as in Hand-To-Big-Toe. Bend at the hip crease, where the thighbone connects to the pelvis, instead of rounding the lower back. There isn’t a lot of forward movement in this stretch, but if it follows Hand-To-Big-Toe, you will notice more length in the back of the legs. If your lower back is flexible, you can eventually let the spine soften and round toward the legs into a more supported stretch.

The front of the thigh (quads) is the focus of Virasana (Hero Pose). Give yourself some help by lifting the sit bones with a folded blanket or block. It is very difficult to actually sit on the floor between the heels and often people let the lower back round in order to do so. Avoid this temptation, and notice how much taller you can sit if you lift your seat a bit. Try to let your exhales release the muscles in the hip joints, which will also let you lengthen the spine.

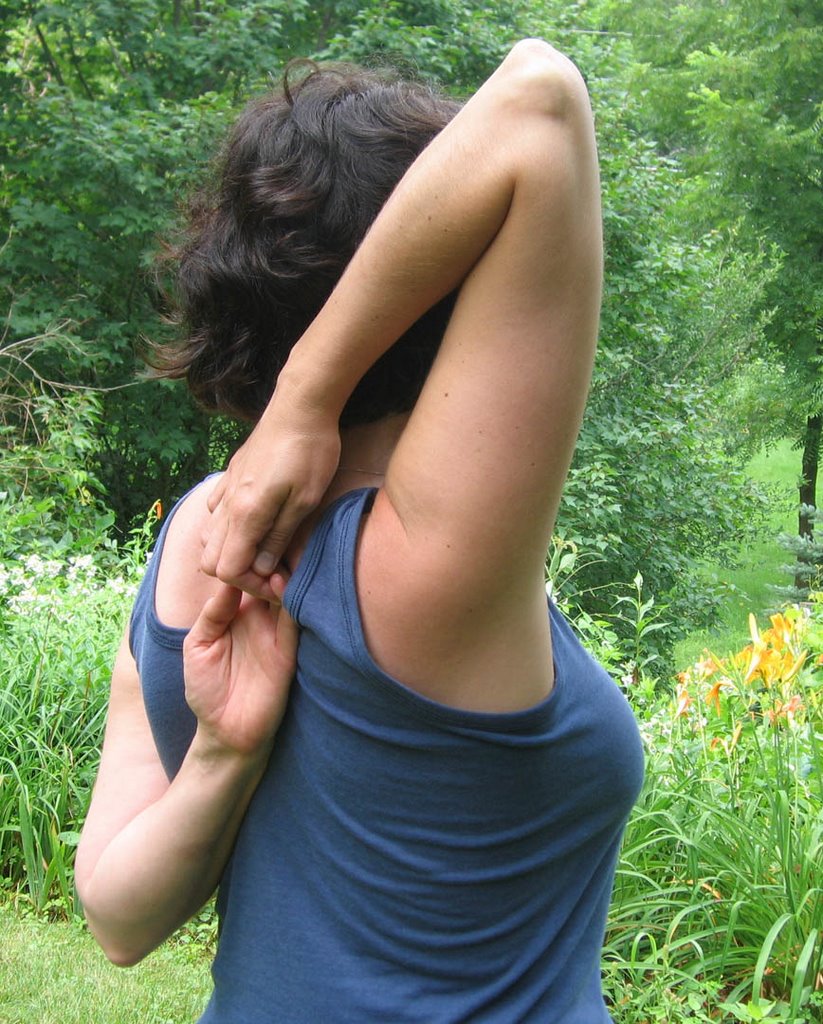
One last area to focus on is your back. Many of the seated positions require work of the abdominals in the side body to keep the spine aligned, but a little attention to the muscles running along side the spine will prepare you for later twists like Parsvakonasana-(Lateral Angle) or Marichyasana (Seated Twist and Forward Bend). Bhujangasana (Cobra) and Salabhasana (Locust) are baby back bends that open the chest while working the back muscles to lift the upper torso and, in the case of Locust, the legs. You can try various modifications to make them easier (using the hands to support the chest in Cobra or keeping the arms to the side in Locust) or harder (crossing the arms at the lower back for Cobra or lifting the arms out to the front in Locust), depending on your target pose.

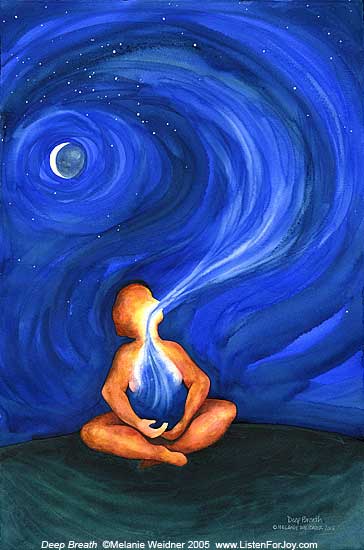
Take to time to prepare yourself for your later, more challenging poses. The more work you do on the floor, the more confidence you will have when you come to your feet or hands or head (!) in the center of the room. These preparatory poses have their own integrity and, if practiced with a quiet focus, are beneficial even if they don’t lead to something more difficult. Some days you want to shake and sweat; others you just want to quietly extend. And no matter what, always give yourself a few moments for a complete relaxation at the end of your practice so that your body has a chance to recuperate and release. Namaste (said with an enthusiastic exhale, because that was a lot of information to get through!)
©Brenda K. Plakans. All Rights Reserved.

Thursday, July 20, 2006

THE SECRETS TO SEQUENCING (PART ONE)

One of, if not the, best part of taking a yoga class is letting yourself be lead through a series of poses that progress logically so that by the end of the session your body is completely worked and refreshed. An asana sequence is most successful when it teaches you the various elements of your target pose, but lets each step of the way challenge your body to stretch and open to its fullest. When you reach the peak of the class, your muscles and limbs naturally accept the challenge of the headstand, backbend, etc. because they have been properly prepared.

As you become more familiar with the many of positions in hatha yoga, you will begin to see the connections between them and this will help you develop your home practice. However, until all the Sanskrit names become second nature to you, I want to suggest ways of linking warm-ups and poses so you can start sequencing on your own. Even if you read this blog to get ready-made home practice sequences, you can use this information for a quick “spot stretch” --to loosen a cramped shoulder or stretch a tight calf muscle.


Try and start with a short meditation, or few minutes of focused breathing. This can be while you are standing in Tadasana (Mountain) or sitting comfortably cross-legged in Sukhasana (Easy Pose). Let your mind release, focus on the breath and take some time to align and open the spine.

From the breath and the spine, move your attention into your upper body. Consider what your target pose is going to be and think about what you need to prepare. Backbends and Shoulder Stands need warmed shoulder joints and an open chest. Headstands need energized arms and a long spine. Standing balance poses need a lifted rib cage and squared hips. Evaluate the work of the asana and what muscles are most engaged (what is sore when you finish the pose?) and work backwards to what preparations warm and stretch those parts of the body.

Hastasana (overhead arm stretch) is always a good place to start, because you get the whole torso into the act. The shoulder joints are intensely rotated, the sides of the chest stretch to keep the spine long and the hips have to balance to keep the tailbone pointing to the floor. This stretch can happen while you are standing or in Virasana (Hero), Dandasana (Staff) or Sukhasana. Make sure to keep the neck relaxed, the shoulders away from the ears and breathe evenly.

Another option is using the arm position from Gomukhasana (Cow’s Head). This requires even more rotation in the shoulder joints, while it stretches the triceps in the upper arms and opens the chest. Try to focus on the opening of the shoulder joints and keep the neck and upper back relaxed. Also, keep the spine long and the lower back neutrally curved; it’s easy to arch when you are so focused on the arms. The arm position for Garudasana (Eagle Pose) also opens the shoulders and upper chest, but moves the stretch to the center back as the arms twist at the center front.


If Cow’s Head and Eagle are too pretzel-y for you, the Namaste hand position in back, also opens the chest and rotates the shoulders more gently. Work to deepen the stretch in the armpits by keeping the neck long and stretching the elbows down and back, as you press your palms together behind the shoulder blades. Keep your breath even, but notice the extra stretch you can sneak in by filling the lungs and lifting the rib cage on your inhales. Tricky.

Now the upper body is warm and open. You can come back Sukhasana and notice how you feel, compared to when you started. Store those observations because they will help you remember what stretch affects which muscles. This information is what will help you decide how to sequence your practice.

Next week, I’ll continue onto the hips and legs so you can develop well-rounded sequences. Until then, keep these warm-ups in mind during your next yoga class and notice which ones are echoed in the more difficult poses. And enjoy letting your teacher do the heavy thinking…


Monday, July 10, 2006

DROP AND GIVE ME 10


As much as we would like to, very few of us have time for more than one or two hour-long yoga classes a week. I’ve found that if I can slip into a yoga pose here and there for 5-10 minutes, whenever I think of it, I can get most of the benefits of the pose even in that short time. Of course more intense poses like headstands and backbends need a bit of preparation, but favorites like Dog and Triangle are easy to do wherever you have about four feet of room.


I have been working on my abdominal strength this summer, so one pose I often drop into is Navasana, or Boat Pose. It engages the rectus abdominis (six-pack muscles) to lift the spine; transverse abdominis and obliques (side and back stomach muscles) to keep the chest lifted and the back long; ilipsoas (muscles that connect pelvis to thigh bones) to keep the pelvis tipped; and the rectus femoris (one of the quadriceps muscles on the front of the thigh) to keep the thighs lifted. It is like one, gigantic sit-up without the movement.

Give Navasana a try, using any of the modifications to make it a more effective pose for you. I guarantee pretty quick improvement, if you manage to “drop in” to the pose a couple times a day.

Navasana (Boat Pose)

1. Sit on the floor with your knees bent and the feet flat on the floor. Tuck your hands under the knees and align your back by lifting the breastbone. Keep the neck long, but don’t tense the neck or the shoulders.

2. Start tipping back onto the base of your sitbones and lift your feet off the floor. Always maintain the lift of the breastbone. Find the place where you can balance on the sitbones without wobbling.

3. When you feel centered, begin to extend the knees until the calves are parallel to the floor and your thighs are about a 90-degree angle from the torso. Straighten the arms while lifting the breastbone.

*Just getting into this position may be enough for a beginning student and you should just focus on staying put and breathing, until you can hold this preparation pose without too much effort for a minute or so. *

4. To deepen the work of the torso, continue straightening the legs with the feet extended (but don’t point the toes). Keep the hands behind the knees or double your belt and wrap it behind the thighs so you can keep the torso long and the breastbone lifted as you extend.


5. Release the hands and turn the palms towards the floor. Keep lifting the breastbone, keep lifting the breastbone, keep lifting the breastbone. Don’t let the chest collapse or the lower back round toward the floor—the spine is loooong. Try to keep the breath moving evenly through the lungs, with an emphasis on longer exhales (this works the abdominal muscles even more). Try and hold the pose for a minute or two.

6. A nice release for this pose is to turn onto your tummy and lift up into Locust Pose (Salabhasana). Lie facedown, with the arms alongside the body with the palms turned up. On an inhale, lift the hands and the feet up, using the muscles of the back body so that the chest and legs come off the floor. Try to hold it for a few breaths and then relax back into the floor.
©Brenda K. Plakans. All Rights Reserved.

Tuesday, July 04, 2006

Breath and the Ball Gown


Several lifetimes ago (I mean professional lives, not karmic ones) I was a volunteer costumer at the University of Texas opera department where I spent many hours crouched over a sewing machine, hemming gigantic ball gowns and rushing to meet deadlines. This led to a very snarled up right shoulder, so I began getting regular massages to work out the kinks. The masseur worked with my sister at a local bakery, so he was very good at kneading…he also had some great advice. He suggested I tape a post-it to my sewing machine with a single word, BREATHE, written on it. It was a wonderful reminder to slow down, sit up and relax; it didn’t cure my shoulder completely, but it certainly helped.


I’ve been writing about fine-tuning poses, but one thing I always come back to in my yoga classes is the importance of aligning the spine and allowing the breath to release any tension in the back and shoulders. It seems like a simple exercise, but it is very easy to forget your posture when juggling the demands of the day. Just now, take a second to notice where your sit bones are in relationship to your hips/shoulders/ears. Line each of those landmarks up and notice how much taller you are and how much more space is in the chest. Now take a deep breath and let the shoulders drop away from the ears and feel the neck lengthen. You should immediately feel a bit calmer and more comfortable; that extra gust of oxygen in the lungs is a power force that can instantly start lowering the blood pressure and releasing tensed muscles.

Try to take advantage of this force every time you start to feel slouchy, tired or grumpy. The full lungful of air helps clear the mind and the tall spine allows the newly oxygenated blood to circulate freely throughout the torso. I can’t promise that you will immediately jump up and save the world (or meet your deadline, or finish the soprano’s gown), but you will be more focused and can clearly deal with the task at hand. BREATHE.

3-Part Breathing

This is one of my favorite breathing exercises. It can calm you in a tense situation. It can help you to settle down and go to sleep. I’ve even used it to pre-empt an asthma attack.

1. Find a comfortable position so that every part of your body is supported. You can be sitting upright in an over-stuffed chair or lying on the floor. Just make sure you can completely release yourself into the surface you are resting on. Take time to find this released point, so you no longer need to think about any part of your physical body. Close your eyes.
-Some meditation practices recommend covering the eyes with a gentle weight, such as a folded towel or beanbag, as the gentle pressure can be very calming. Give it a try if you are having trouble quieting your thoughts.

2. Begin to breathe comfortably and notice how the breath lengthens as you start to relax.

3. Now bring your attention to your torso as you breathe. Imagine the breath slowly filling the belly. Once the belly is full, picture the breath inflating the middle of your lungs beneath the rib cage. When the lower lungs are full, imagine that you are now filling the space beneath the breastbone. Once you have completely filled your torso with air, slowly exhale—first emptying the space beneath the breastbone and then the space behind the ribs and finally the belly.

4. Rest for a moment in the place where there is no breath and then begin the process again. Repeat a few more times and then let the breath come back to your normal rhythm. Come out of your restful position, whenever you are ready.
©Brenda K. Plakans. All Rights Reserved.