Sunday, September 24, 2006

BREATHING WITH BUDDHA


I know, wrong religion, wrong god for yoga, but I wanted to give you some breathing techniques to try at one of the talks that are going on at Beloit College next week during the 5-day residency of the Tibetan Monks from the Drepung Loseling Monestary.
There are musical presentations, the creation of a sand mandala and lectures on meditation. I went to several meditations led by these monks at the Smithsonian Institution in Washington DC and it was a very moving experience; I highly recommend you come to one of the events.

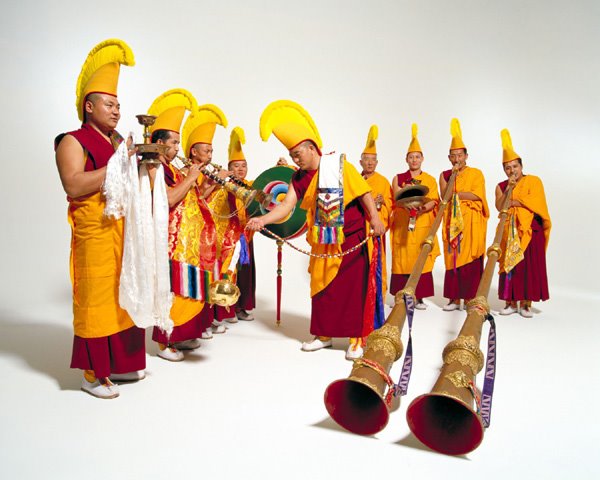
The meditations I participated involved almost an hour of the drones and blasts of their various instruments, which gave me the giggles at first. Once I began to let the sound wash over me, the music and chanting became a place to focus my attentions and soon my breath began to slow and I was able to settle my thoughts. Here are a couple of breathing exercises that can help quiet the mind, whether you are in the presence of these calm, peaceful men or not.

“Loop” breathing and Exhale lengthening

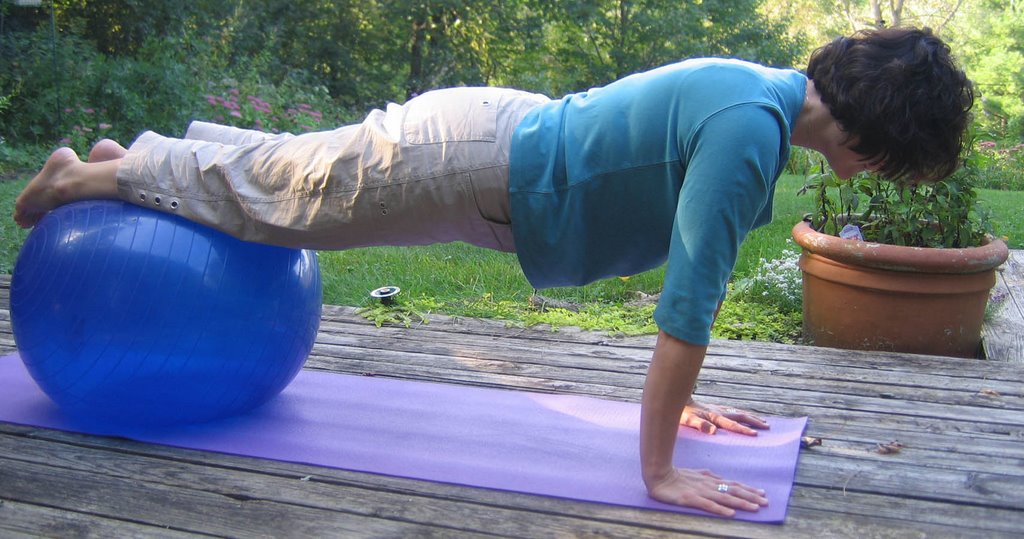
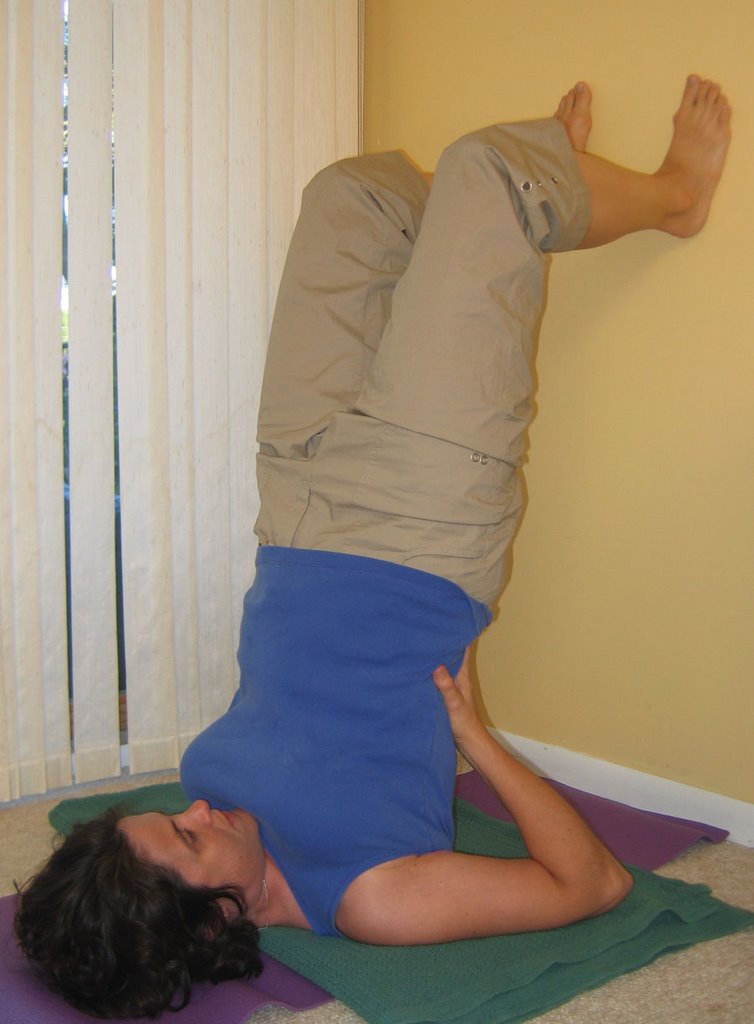
For either exercise, find a comfortable position you can stay in for awhile—maybe Savasana or Sukhasana against a wall. You want to be able to release your entire body into the support of the floor or the wall so you can concentrate on your breath. Give yourself a few moments to really settle into your position and let the breath start to slow.

1. “Loop” breathing-Pay attention to the beginning and end of each breath. Notice how much “silence” there is at the end of each inhale and exhale; the moment when there is no breath at all. On the next cycle, try to imagine your breath as a loop and let the exhale begin as soon as the inhale finishes, so there is no stopping. This will be a bit jerky at first, especially between the exhale and inhale (it is easier to let full lungs empty than to begin filling them again). Imagine the cycle as an oval, with the transitional points at each end and visualize the breath moving smoothly around those curves during the transition. Continue this for a while (5-10 mins.) and then let your breath return to its normal pattern.

2. Exhale Lengthening-After relaxing with your normal breath, start to notice the length of each inhale and exhale and count the seconds. Are they the same counts or is one longer? Try to bring the breath to an even number of counts, so the in- and exhale take the same amount of time. After a few even breaths, try to add a single count to the exhales. Continue with that for awhile and then add another count. Continue with that and, after awhile, if it feels okay add another count so that the exhale is 3 counts longer than the inhale. Continue with that until you are ready to stop and let your breath return to normal, maybe giving a big sigh to break the counting cycle. Rest until you are ready to finish the exercise, than slowly roll to the side and push yourself up to sitting.

(If you are interested in more information about current research being done on the effects of meditation, this NPR article is a good place to start.). ©Brenda K. Plakans. All Rights Reserved.

Friday, September 15, 2006

TIME TO WALK THE PLANK (MATEY)…


In honor of Talk Like a Pirate Day (September 19) I want to focus this week’s posting on Plank Pose. Like Adho Mukha Svanasana (Downward Facing Dog) or Navasana (Boat Pose), Plank pose is an efficient, all-body pose that strengthens the arms, torso and legs. It’s not easy, but it is a good pose to drop into if you only have a few minutes to dedicate to yoga on a particular day (ouch, busy day). It is also very adaptable, so you can change the position of the arms and legs to make the pose harder, easier or just to change the emphasis. Here are some variations:

Variations for Plank Pose

Basic Plank: Set up in Table Pose as you would for Dog; heels of the hands are beneath the shoulders, knees are beneath the hips. From here, straighten the arms and stretch the legs out behind to bring the torso into a straight line from the ankles to the shoulders. Keep the shoulders away from the ears and the neck long. Notice the work in the torso--the abdominals do most of the work in this pose, more than the arms and legs, because they are responsible for keeping the spine long and the torso lifted. If your hips sag, or the body is bent, lower one or both knees to the floor, so that the abs are still engaged, but you can lengthen the back. Try to hold for 5 breaths and work up to 10.


One-Legged Plank: In this version (in keeping with the Pirate Day theme), come into the Basic Plank and then lift one heel. Keep the weight balanced between both hands and stretch out thru the lifted heel. This requires even more work from the torso, so don’t try it if you need do the Basic Plank with one knee on the floor.

Tripod Plank: Make a tripod by interlocking the fingers, bending the elbows and resting the forearms on the floor with the elbows under the shoulders. Then lift the torso and straighten the legs. This version works the upper chest and triceps.


Ball Plank: If you want to take your Plank to an even more challenging level, try it on an exercise ball. Come into the Basic Plank with the legs resting on the ball, and walk your hands forwards until the lower shins and ankles are on the ball, while the shoulders are over the wrists. Notice how you have to engage the side body to keep your balance on the ball—this is in addition to the work that keeps the hips lined up with the legs. Arrgghh!
©Brenda K. Plakans. All Rights Reserved.

Friday, September 08, 2006

LEARNING TO LOVE THE DOG

After class last week, a couple of my students were discussing how much trouble they had with Adho Mukha Svanasana (Downward-Facing Dog) and decided that they just didn’t have the upper body strength for the pose. This is a common problem for people with stiff shoulders or upper backs; the pose becomes a version of Plank Pose, because they can’t lengthen the upper torso and rotate their shoulders enough to get into the inverted V of Dog. All the weight of the upper body is on the arms and wrists, instead of being equally suspended between the legs and arms. This is a very strenuous position and, because of the strain, people stop breathing evenly and blood starts to rush to the head. Needless to say, this does not make for a very calming pose.

So, in honor of Madame Purl and Dan, I offer this sequence for shoulder opening. Be honest with yourself and don’t overdo any of the stretches or force your body out of alignment. The idea is to work on the rotation of your shoulders and find a place where you can feel the upper back working, while the spine is still lengthening. Even if you don’t have trouble with your Dog, this is a wonderful series to work any tension out of your upper torso and will help you stay in DFD even longer to get the maximum benefits of the inversion. Enjoy!

Shoulder Opening Sequence

Tadasana with Hastasana Arms (Mountain Pose with Overhead Arms) Extend the spine and side ribs as you stretch your palms towards the ceiling. Keep the neck long and the shoulders away from the ears. If you need to slightly bend the arms to stretch up, do so.

Extended legs with Gomukhasana (Cow’s Head Pose) Arms Step your feet apart as if for Triangle, and ground evenly thru the bottoms of the feet. Lift the side ribs, but keep the shoulders down. Twist lift the right arm overhead and bend the elbow while reaching up the back with the left hand; join hands or clasp either ends of a belt. Stretch the elbows away from each other, while gently pressing them to the center. Switch sides.

Parsvokonasana (Lateral Angle Pose) Do this combination Warrior 2 (legs)-Triangle (side stretch) Pose. Ground evenly thru the soles of the feet, but really focus on lengthening the side ribs as you stretch from wrist to ankle on each side.


Right Angle to the Wall Stretch Stand with the hands against the wall, even with the shoulders, and the step the feet back until your head, arms and side ribs are in a straight line. Press the finger tips to the wall as you stretch your sit bones back to lengthen the sides of the torso. To deepen the rotation of the shoulders, relax the upper back and let the head hang between the arms.**Is it just me, or do toddlers act just like cats when they get around a yoga mat?**

Vrksasana (Tree Pose) With the wall in reach (or against your back), move from Mountain in this balance pose (one knee bent, sole of that foot against the other leg). When you feel balanced, reach both arms overhead and repeat the stretch of Hastasana while keeping the shoulders down. Change sides.


Tripod Shoulder Opener Form a tripod with the elbows, sides of the arms and sides of the hands (fingers clasped or fingertips pressing together). Press the tripod to the wall at shoulder height and step back until you can hang your head between your hands. Feel the stretch around the shoulder blades and in the armpits.


Modified Adho Mukha Svanasana (Downward-Facing Dog) Start on your hands and knees, with the heels just a few inches from the wall. As you come into Dog, keep your knees bent and let your heels rest again the wall. Make sure your arms are stretched out enough that you can really lengthen the back and side ribs. Don’t worry about straightening the legs. Try to keep the neck long and the shoulders away from the ears (same positioning as the Right Angle Stretch).

Balasana (Child’s Pose) Relax on the floor and concentrate on releasing thru the shoulders.

Full Adho Mukha Svanasana (Downward-Facing Dog) Come away from the wall and do a complete Dog. Keep the knees bent and the heels off the floor if you need to—you are focusing on the work of the arms and shoulders this time. If you get the upper body in a comfortable, rotated place you can try lengthening the back of the legs, but only if you are comfortable.

Balasana (Child’s Pose) Again, come down to the support of the floor. If you want to roll over into Savasana (Corpse) for a more complete relaxation, go ahead and do so. ©Brenda K. Plakans. All Rights Reserved.

Sunday, September 03, 2006

QUEEN OF ALL ASANAS


I sort of left you dangling last week, without any lead-in to doing Shoulder Stands, so I thought I would give you a solid, chest-opening sequence leading to the Queen of all yoga poses (so they say).

Setu Bandha Sarvangasana is, both an intense inversion but also a calming, relaxing pose. Once you find your balance and stretch your feet overhead, the blood flow increases to the brain and the lower body is released from its usual fight against gravity. If you line your head up properly and let the weight of the body settle on the shoulders and upper arms, it is a very soothing position that feels great for the back, feet and legs—especially at the end of the day.

Let’s move into this beneficial pose slowly, and I’ll give you several modifications if you don’t feel ready to try going all the way into the position:

Setu Bandha Sarvangasana Sequence
Sukhasana (Easy Pose)-Study the alignment of the torso, so you will be able to recreate it upside down. Lengthen the side ribs, so there is space between the bottom of the rib cage and the top of the pelvis.

Dandasana, with Namaste hands in back (Staff Pose)-Press the sides of your feet against a block and press the backs of the legs to the floor. Keep lengthening through the side ribs as you bring your arms behind your back—either just crossed at the lower back, or palms pressed together with the fingers pointing down or (most challenging) up. You are in an Un-inverted Plow Pose.

Virasana with Gomukhasana arms (Hero pose with Cow’s Head arms)-Sit with a block or folded blanket between your heels, so you can keep the spine long as you sit back. Breathe into the stretch on the tops of the thighs and to release the hip joints. Then, use the belt, if necessary, to help bring your hands towards the spine in back, while stretching the elbows away from each other.

Tadasana (Mountain Pose)-As you did in Easy Pose, take a moment to really deepen the alignment of the whole body, especially the chest.

Uttanasana (Intense Forward Bend)-Keep the length in the side ribs as you fold forwards from the hip crease to reach a block or the floor. Try to recreate the alignment of Mountain with the upper body.


Trikonasana (Triangle Pose)-With the arms stretched to either side, notice the openness of both the front and back chest. Try to maintain this openness as you stretch out over the right leg, while keeping the hips facing forwards. Repeat to the left.

Setu Bandha Sarvangasana (Shoulder Stand)-There are a couple of approaches to this pose, so you can decide which is most appropriate for you…once in the pose, stay as long as you like, but always keep the spine aligned and the chest open. Breathing should be easy and relaxed; if the neck and chest feel crowded try to lengthen the side ribs and keep the back of the neck long (don’t look at your chest).
1. From Viparita Karani (Legs Up the Wall Pose)-Lie on the floor next to the wall, so that the backs of your hips are against the wall and your legs stretch up the wall over the hips. Your blanket is folded under the shoulders so that your head and neck rest on the floor; this is so you can keep the body’s weight on the shoulders and upper arms. Bend your knees and press the soles of the feet to the wall as you begin to lift your hips. With the upper arms close to the side ribs, bend the elbows and press your hands to your lower back to help lift. Make sure the shoulders are rolled under as you press your hips up until they are lined up with the shoulders (as you did in Staff pose). You can stay here, or if you are ready, straighten one leg and then the other away from the wall into Shoulder Stand. Slowly lower the hips and release the hands, then lie on the floor with the knees bent when you come down.

2. From Halasana(Plow Pose)-Lie down with your shoulders on the blanket, head off, about 3 feet away from the wall. Roll the hips and legs up and back—as if doing a backwards summersault—until the feet come to rest on the wall. Roll the shoulders under, lengthen the side ribs and lift the hips so that they are even with the shoulders. Keep the upper arms close to the body and bend the elbows so you can help lift the lower back with your hands. When the torso is aligned, press the feet to the wall and press the backs of the legs to the ceiling; enjoy Plow Pose, which is basically an upside-down Staff Pose. When you are ready, lift one leg and then the other, so the ankles-hips-shoulders are all lined up in Shoulder Stand. Slowly lower the hips and release the hands, then lie on the floor with the knees bent when you come down.

Supine Twist-When you are ready, bring the knees to the chest and then roll both knees to one side as you ground the back of the shoulders to the floor and stretch the arms to the side. Look towards the opposite shoulder from the knees, if you want a deeper twist in the upper back. Repeat to the other side.

Savasana (Corpse Pose)-Release the knees and stretch your legs out. Take a minute to realign your whole torso, so the neck is long and the head is lined up with the tailbone. Sink into the support of the floor and concentrate on letting all muscles relax.
©Brenda K. Plakans. All Rights Reserved.

p.s. The test has now concluded…I missed my old title, so brought it back with “yoga” included, so it would be easy to search for by theme. The address is still the same, so if you bookmarked it, that isn’t affected.