Tuesday, June 27, 2006

Sneaking into a Stretch


This summer, I am slowly working my way through H. David Coulter’s Anatomy of Hatha Yoga. He is an anatomist, and the book is a very thorough scientific explanation of how the body’s skeletal and muscular systems work vis a vis yoga. Fascinating, but very dense. I have to take notes as I read or I will never remember any of it. But, you, lucky reader, will benefit from my careful reading, because so much of what I am learning is spilling into my teaching and understanding of yoga. You get the Reader’s Digest version, as it were.

Right now my lesson plans are influenced by Coulter’s explanation of muscle reflexes and how they affect a muscle’s response to stretching. More specifically, I’m thinking about his discussion of the Myotatic Stretch Reflex. This is the reflex that is exhibited when you tap your kneecap or land on your feet after jumping; your muscles automatically contract after a sudden move to maintain your balance and absorb shock. It can also lead to tight, shortened muscles if the reflex is enacted a lot and not counter-acted with stretching (say, after a jog or hike). To prevent this automatic response of contracting, you have to ease into a stretch slowly so the muscles stay relaxed and are able to lengthen.

Experiment with easing into a stretch and notice how much length you can get by moving slowly (but don’t overdo it, always let the muscle open at its own pace). Here are slooow versions of Hastasana and Paschimottanasana for you to try. (Next month's issue will feature reader's contributions to Humor in Loose, Comfortable Uniform and Life in These Sanskrit States)

Slow stretches for Shoulders and Calves
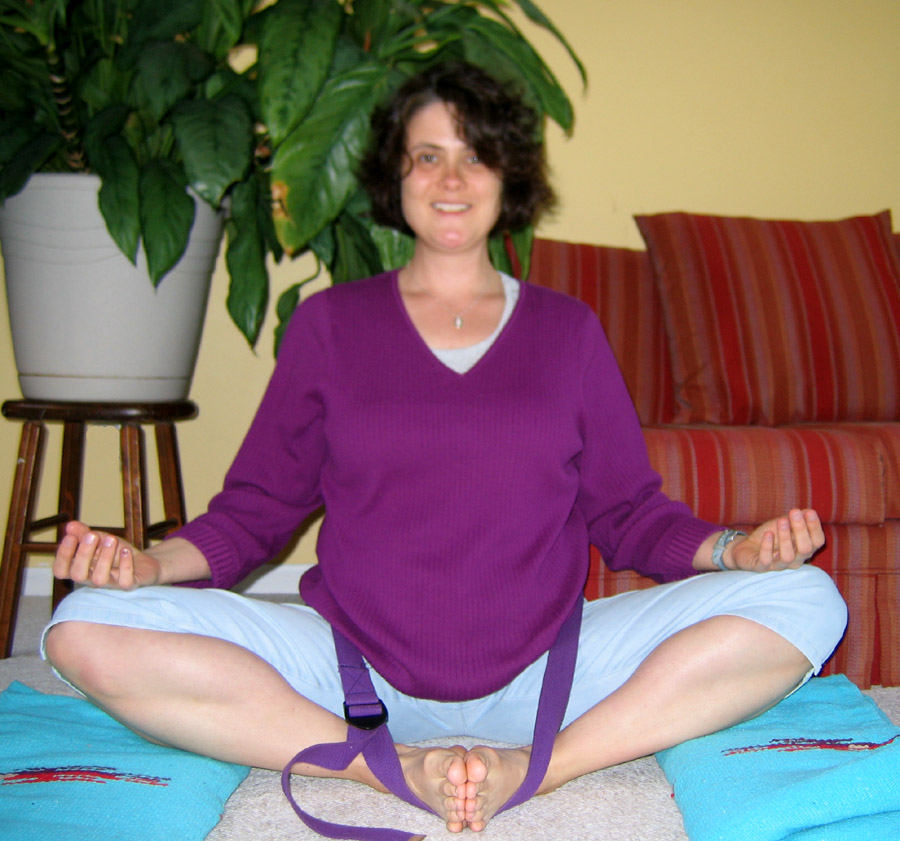
1. Hastasana
(Overhead Arm Stretch) In a comfortable, cross-legged seated position, interlock the fingers and stretch the arms in front of you, opening the space between the shoulder blades. Turn the palms away and slowly begin to raise the arms, until you feel your shoulders start to lift. Stop there and press your palms away, keeping the arms straight.
-Then, slightly bend the elbows and continue stretching the palms overhead and notice how the stretch moves into the shoulder joints.
-From here, begin to straighten the arms while keeping the shoulders away from the ears, stopping whenever you need to even if the arms aren’t straight. Notice how much deeper you are into the stretch than you would have been if you just kept lifting your straighten arms.
-Repeat with the fingers interlocked the “other way” (with the other index finger on top).

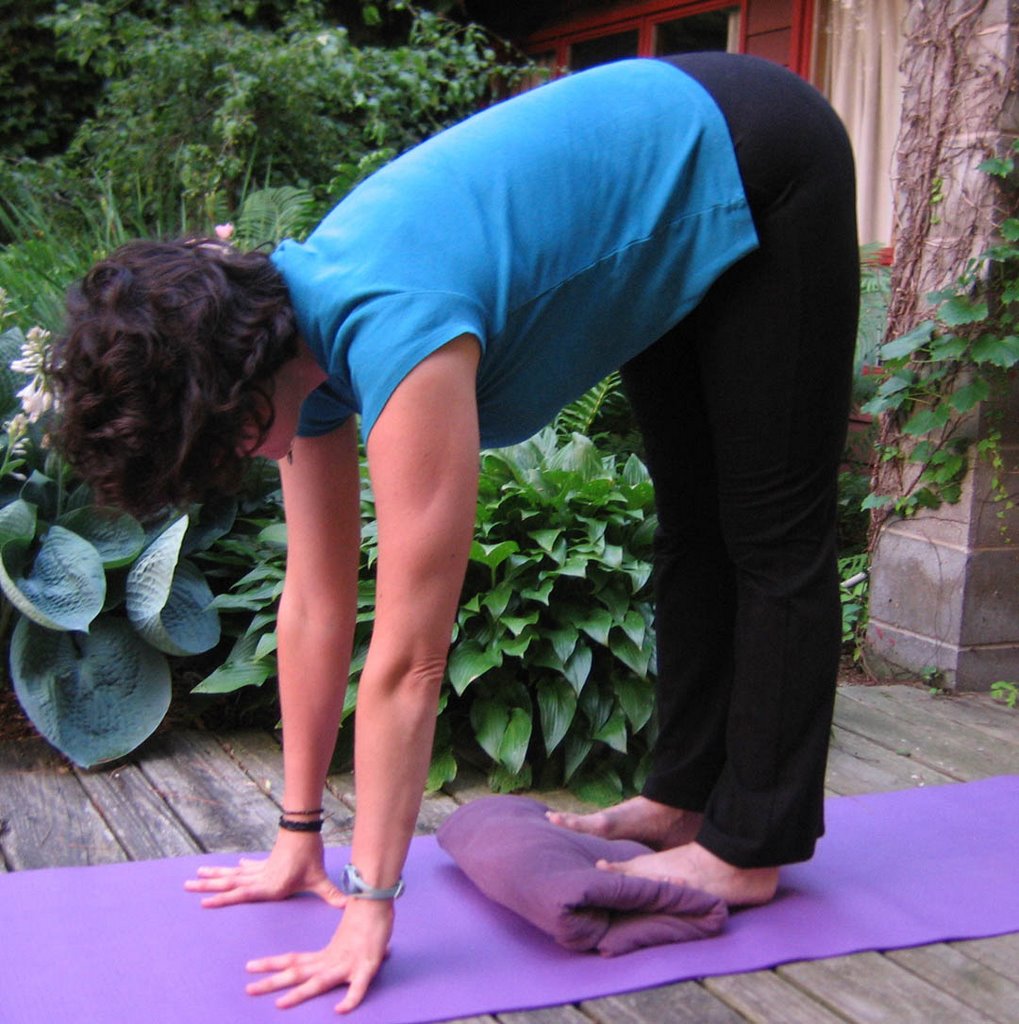
2. Paschimottanasana (Forward Bend) Roll your blanket—tightly if you have fairly flexible calves, looser if not. Now stand with the toes and balls of the feet on the blanket and the heels on your mat. Straighten and come to Tadasana (Mountain) making sure the tailbone points down to the floor and the shoulders are balanced over the hips. Breathe into this alignment and feel the calves start to open.
-With the hands in the hip crease (where the thighs meet the pelvis) begin to fold forwards from this joint, keeping the lower back long and the chest lifted. Reach down for the floor or your block when you are as far as you can fold. Try to sink your heels and balance your weight between the front and back of the foot. Breathe into the length of the spine and the continued opening of the calves.
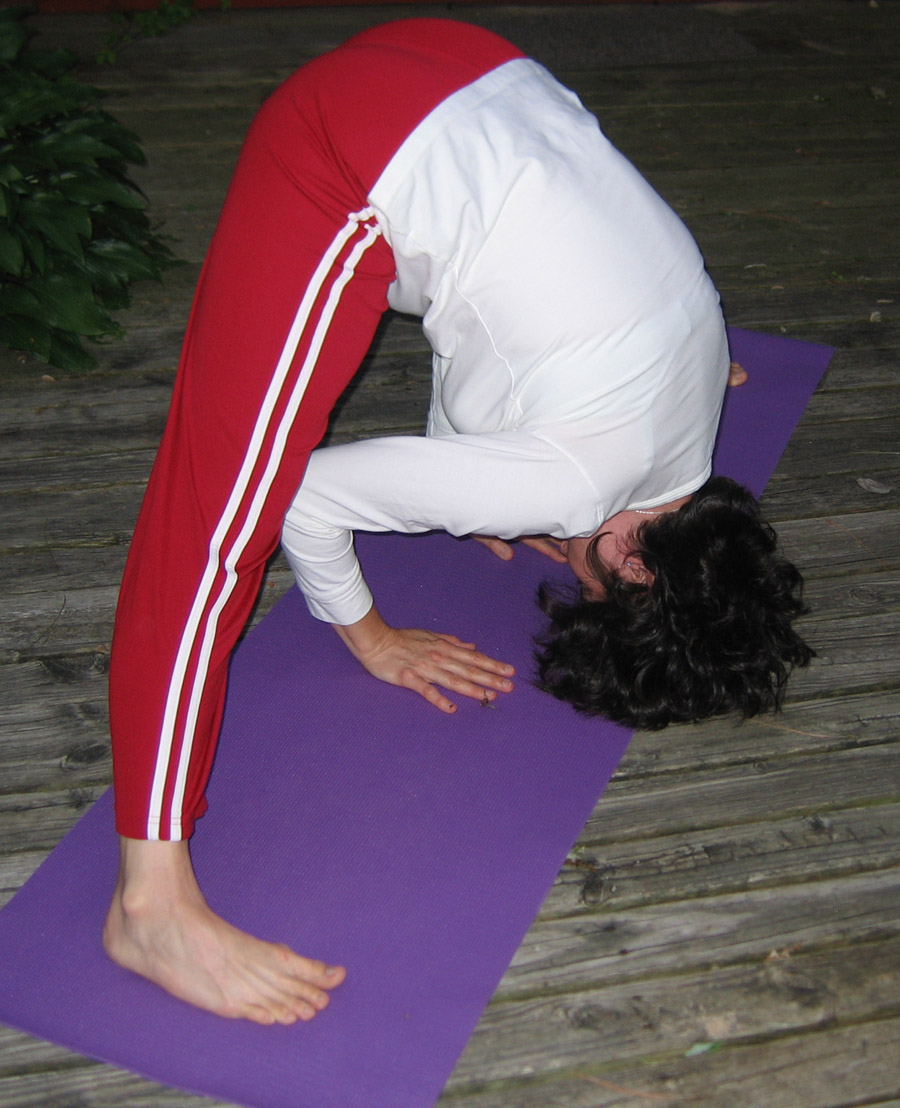
-Now, slightly bend the knees and step off the blanket. Stay in the forward bend position, but notice how much further you can bend forward—or how much more comfortable the position becomes. Continue lengthening the calves and, if you want to deepen the pose, release the spine and let the head and shoulders hang down towards the floor. Cross the arms and tuck your hands into elbow crease so the weight of the upper body helps open the spine and increases your stretch.
-Slowly re-engage the spine and, with your hands on your thighs, come back to standing.
©Brenda K. Plakans. All Rights Reserved.

Thursday, June 22, 2006

Hip Openers (Part Two)


As I mentioned before, there isn’t really a “hip” muscle, just all the muscles that connect the pelvis, spine and thighbones. And the pointy knob on your lower side front that is called the hipbone is actually the top of the pelvis. So the term “hip” is a little misleading when talking about anatomy—we’re really talking about the various elements that help stabilize the pelvis and the lower spine. There is a variety of yoga poses called hip openers that focus on this area and help strengthen the muscles and increase flexibility in the joints. I want to focus on a few of them in this posting.

While practicing the following sequence, keep your focus on the balance of your pelvis. When standing, the tailbone should remain pointed towards the floor and the hipbones (for lack of a better term) should be level—this means the pelvis is in a vertical position. There is a gentle curve at the lower back that appears naturally when the pelvis is upright and balanced; the lower back rounds or overarches if the pelvis is tipped too far back or forward. Try to maintain this gentle curve in the spine while doing the following poses.

Hip Opening Sequence
1. Sukasana (Easy Pose) Sit in a comfortable, cross-legged position with the sitbones on a folded blanket. Increase the height of the blanket if you can’t sit without rounding the lower back. Take a few minutes to really concentrated on balancing the pelvis and lengthening the spine.
2. Dandasana (Staff Pose) While keeping the spine long and the pelvis balanced, stretch your feet in front of you and press the soles of the feet away so that the leg muscles engage.
3. Paschimottanasana (Forward Bend) Wrap your belt around the balls of the feet and begin to pull yourself forward, leading with the belly button. You are now tipping the pelvis forward to lengthen the back of the legs. Don’t round your lower back!
4. Tadasana (Mountain Pose) Come to standing and realign the spine and pelvis.
5. Gomukhasana (Cow’s Head Pose) Stretch the arms into the Cow’s head position, while maintaining the neutral curve in the lower back. Do the stretch on both sides.
6. Virabhadrasana II (Warrior 2) Concentrate on keeping the hips squared so that the belly button faces the same direction at the breastbone. Roll the thighs out so that the knees are aligned with the tops of the feet. This pose is a powerful hip opener, because your muscles are working very hard to keep the hips squared and support the weight of the torso at the same time. Try to hold the pose for 6-7 breaths.
7. Prasarita Padottanasana (Wide-angle forward bend) Step the feet apart another foot or so from your Warrior stance. Check to see that the edges of the feet are parallel and the feet are grounded evenly between the inner and outer edge. Don’t let the ankle collapse. Keeping the spine long, fold forward from the hip crease and rest your hands on your block or the floor beneath your shoulders and breath into the length of the spine and the work of the ankles. Then release the back and walk your hands towards the feet, letting the head hang toward the floor. At your deepest bend, check that the ankles are still engaged and, if you want, tip your tailbone towards the ceiling to lengthen the back of the legs. This pose involves the same kind of work as Warrior. After a few breaths, re-engage the spine and then come back to standing.
8. Tadasana (Mountain) Let your body realign and check the curve of the lower back.
9. Baddha Konasana (Bound Angle Pose) Try this pose seated against the wall or, for greater relaxation, lie on the floor (See June 12 for more details).
10. Savasana (Corpse Pose) Release the belt and stretch out the legs. Take a moment to really align the spine before relaxing into the support of the floor.

©Brenda K. Plakans. All Rights Reserved.

Monday, June 12, 2006

Hip Openers (Part One)

Tight hips…it sounds like something you might strive for; in this case, however, “tight” means stiff and inflexible rather than slender or sexy. And, actually, it isn’t really your hips that are tight but the various muscles in the thighs and lower back that connect to the pelvic bone that need stretching. If these muscles are tight, they can really affect the way you use your knees and lower back, since these are the areas that overcompensate when you have inflexible hips.

Tightness in the hips, thighs and lower back is common in athletes (especially runners and bikers) who have very strong leg muscles, but these muscles are often contracted from the movement required in these sports. Men’s hips tend to be tighter than women’s. Older people’s hips have less flexibility than younger people’s. Don’t despair if you are a 50-plus male marathoner, though, because there are many yoga poses that will help open and lengthen the muscles your legs, hips and back. And even if you aren’t an athlete, hip openers will give help open up the lower back and improve your posture.

Supta Baddha Konasana (Reclining Bound Angle Pose) is one of my favorite relaxing hip openers. Sit on the floor in Bound Angle Pose (knees bent, soles of the feet touching), with several pillows or rolled blankets in reach. Make a large loop with your belt and place one end around your lower back and over your hip bones. Then slip the other end of the loop around the outside edge of the feet and tighten the belt so that the feet are pulled close to the body (as close as is comfortable). Then ease yourself back, first onto the elbows, and then to the floor. Place the pillows or blankets under the knees so you can relax your legs into the support of the pillows, while keeping the feet drawn towards the body. If it is uncomfortable to lie on the floor, keep yourself at an angle by leaning on a pillow or just rest your back against the wall.

Because you are so well-supported in this position, you can really start to relax and open the muscles in the thighs and hips. The belt keeps the feet drawn in without requiring much work in the legs or back and the pillows let the hip joints release since they aren’t holding the knees up. Try to let all the muscles of the lower body surrender into this comforting support. Let yourself rest for 10-15 minutes in this position and then slowly release the belt and unbend the legs. When you come back to sitting you should notice a pleasant stretch in the hip and groin area.

Try to do this stretch a few times every week (maybe in the evening while watching TV or reading). As the muscles start to lengthen you will find this pose more comfortable and—in that cyclical way of yoga— you will want to hold it longer. I like it as a variation on Savasana (Corpse Pose) because the unusual positioning of the legs keeps me more focused on my body and more present in my mind. You could try a breathing exercise in this pose.

Regular practice of Supta Baddha Konasana will make a whole class of hip openers more enjoyable. You may notice your lower back releasing which makes twists and forward bends easier. So, work on this all you leg-oriented athletes and in my next posting I will give you a series of poses that will take advantage of your now “un-tight” hips!
©Brenda K. Plakans. All rights reserved.

Friday, June 02, 2006

Downward-facing Yogis

When I was at the Y a few weeks ago, I watched a group of 10-year-old kids playing freeze tag in the gymnasium. It was a disparate bunch; some of the kids were really into the game while others were off by themselves on the sidelines. One gymnast-girl was cart wheeling around and doing a cheer routine. Another Harry-Potteresque boy kept throwing himself into a handstand, walking a few steps on his hands and then crashing back to earth. I was impressed with the ease that these two kept unending themselves over the hardwood floor. I was impressed that Harry never lost his glasses.

Why do we stop going upside down? I used to do handstands all the time in junior high PE classes, but the 15 years since seventh grade had been a very loooong time of not being overturned. My first yoga handstand came in a Philadelphia class in 1990. Initially it was a terrifying prospect--the image of a snapped neck and paralyzed back shimmered. The headstand was very basic, supported by a tripod of my forearms and head, against the wall. After a moment of thinking, “Dear God, am I really going to do this,” I kicked up, wobbled then steadied. I was probably only up for about a minute, but when I came down I had a great feeling of lightness (and a bit of a buzz in my neck).

But now, I find inversions a very satisfying series of poses. Some can be thrilling, with a great sense of achievement afterwards, like Adho Mukha Vrksasana (handstands) and Salamba Sirsasana (headstands); others are more calming and centering like Prasarita Padottanasana (Wide–angle forward bend) or Viparita Karani (Legs-Up-The-Wall). This combination of energizing and calming stems from the fact that they require focused upper body strength and a perfectly aligned spine, which engage all the muscles of the torso. At the same time, the head is lower than the heart, which increases the circulation to the brain and settles the mind. Mentally, you have to overcome your fear of falling or being disoriented, which is a real confidence-builder.

It’s such a bold gesture of trust to assume that your arms and torso have the strength and stamina to support you. It’s such a joyful move to kick your legs over your head and let your hair hang down. Once you find that source of trust and joy, an inversion will seem as easy as most other yoga positions. You might not even care that you forgot to take your glasses off…

A Short Practice Leading to Salamba Sirsasana (Headstand)
**Don’t try a headstand, until you have learned how to do one with an experienced teacher. S/he will teach you the proper positioning so you don’t hurt your neck. **
1.Tadasana (Mountain Pose)-Feel your tall, aligned spine as you ground down through your feet and stretch up through the top of the head.
2.Hastasana (Overhead Arm Pose)-Add the arm stretch and feel the side ribs lift, while keeping the shoulders away from the ears.
3.Uttanasana (Intense Forward Bend)-Fold from the hips while stretching through the backs of the legs. Keep the weight balanced between the balls and heels of the feet.
4.Adho Mukha Svanasana (Downward Facing Dog)-Keep the spine elongated while the shoulder blades slide down the back (away from the shoulders).
Balasana (Child’s Pose)-Come down to the floor and let the whole body relax
5a. Salamba Sirsasana (Headstand)-Try this against the wall, or, better yet, in a corner so that you have support at your back and heels. Use a folded blanket under the head and forearms for cushioning. Keep the elbows shoulder-distance apart so you can press the forearms to the floor. Kick up each leg separately, until the heels are against the wall. Try to recall the aligned feeling from Tadasana, except this time reach through the head to the floor and the heels to the ceiling.
5b. Half Head/Handstand-if you’re not ready for the full pose, try this modification. Make a tripod with the hands and forearms and place the top of the head (halfway between the ears) on the floor so the palms are resting against the back of the head and the knuckles are gently resting against the wall. OR, place the hands flat on the floor and straighten your arms as in a hand stand. Straighten the legs as for Dog and rest your upper back against the wall, so that only part of the torso’s weight is balanced on the head or hands. Stay as long as you are comfortable. [The little yogi with me, my son Eamonn, is demonstrating a version of Savasana]
6. Balasana (Child’s Pose)-Lower yourself back to the floor and rest as long as you like.
7. Seated twist-Take advantage of your stretched-out torso as you slowly twist the ribcage around the spine, while 8. sitting in Sukhasana (Easy Pose).
9. Savasana (Corpse Pose)-try to recreate the alignment from your Mountain and Headstand, while sinking into the support of the floor. ©Brenda K. Plakans. All rights reserved.